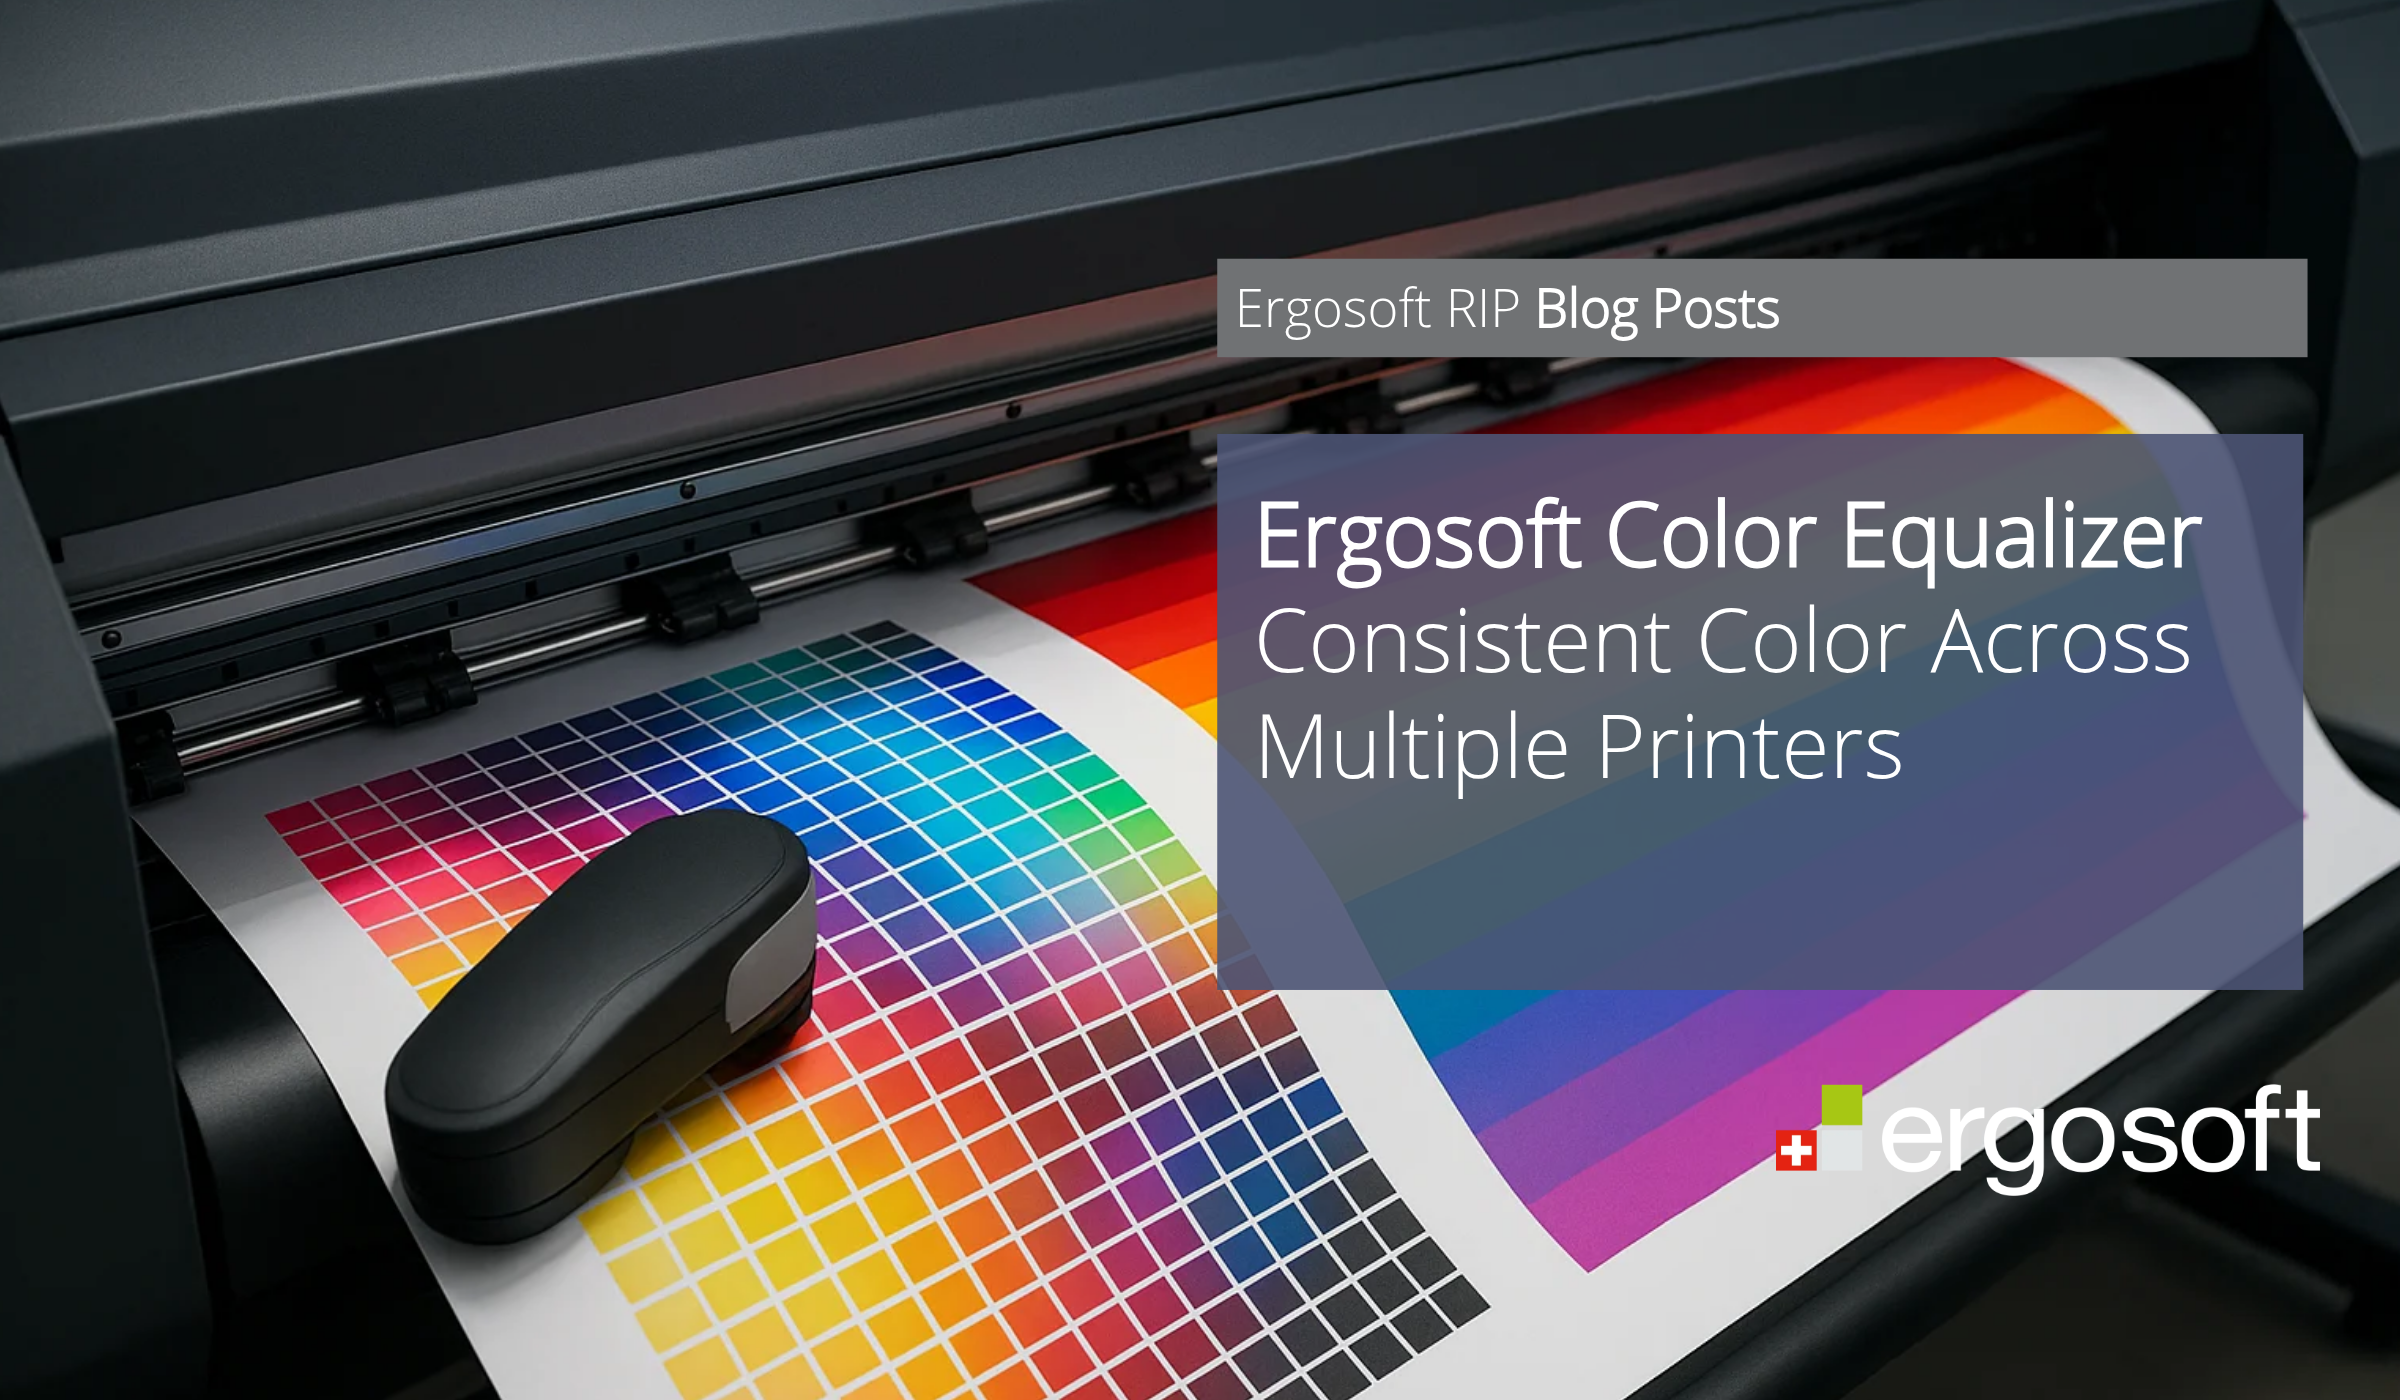
Running more than one printer is the norm in most professional print operations. What is less common is achieving truly consistent color output across all of them. Different printers behave differently — even two identical models with the same ink and media can produce slightly different optical densities due to natural hardware variation, age, or maintenance history. For shops where color consistency across devices is a client requirement or a quality standard, this variation is a real production problem. The Ergosoft Color Equalizer is the tool designed to solve it. Built into Ergosoft RIP, it provides four distinct functions for aligning the print behavior of multiple Print Environments — so the same profile can deliver consistent color output across different printers, without rebuilding everything from scratch. Understanding which tool to use, when, and in what order is what separates a well-configured multi-device setup from one that produces color surprises.
Key Takeaways:
- The Color Equalizer aligns optical density and color output across multiple Print Environments
- Four tools cover every scenario: Calculate Target Density, Copy Target Density, Copy Printer Profile, and Measure Target Density
- All involved printers must use the same ink technology and main media category for the tools to be the most effective
- Density linearizations must already exist in all Print Environments before using the Color Equalizer
- The tools create copies of Print Environments and leave originals untouched
- Color Equalizer is accessible from both the Ergosoft ControlCenter and the JobComposer
Why Color Consistency Across Printers Is Hard
Achieving consistent color across multiple printers — potentially of different makes, ages, or configurations — introduces a new layer of complexity that catches many shops off guard.
Even when using the same ink technology and similar media, each printer has its own relationship between input values and the optical density it produces. This means that identical Print Environment settings will not automatically result in matching output across devices.
A similar effect occurs within a single printer when using different print modes. Variations in speed, resolution, and ink limits can lead to noticeable differences in ink laydown and overall color appearance, making it difficult to maintain consistency between high-quality and high-productivity settings.
As more printers and print modes are introduced into production, these differences accumulate. Customers, however, expect uniform color regardless of which printer or mode was used. Traditionally, this requires creating and maintaining separate profiles for each combination, which quickly becomes complex and inefficient.
The Color Equalizer addresses this by aligning the underlying density behavior across printers and print modes. By standardizing this foundation, it becomes possible to achieve consistent color output while reducing the number of profiles needed and simplifying overall workflow management.
Understanding the Color Equalizer's Four Tools
The Color Equalizer is not a single function — it is a suite of four related tools, each addressing a specific step in the process of aligning multiple Print Environments. Using them correctly means understanding what each one does and what it requires as a starting point.
Calculate Target Density is the starting point for most multi-printer and print modes alignment workflows. It analyses the existing density linearizations of all selected Print Environments and calculates a new shared Target Density — one that is achievable across all of them. The logic is conservative by design: it uses the lowest available density value for each channel across all selected environments, ensuring that no printer is asked to produce more ink than it can reliably deliver. The result is a set of new Print Environments — copies of the originals, with the suffix _equalized added — each configured to the shared Target Density.
Copy Target Density does exactly what its name suggests: it takes an existing Target Density from a source Print Environment and applies it to one or more others. This is useful when a Target Density has already been established — either through Calculate Target Density or through an external tool — and needs to be distributed to additional Print Environments without recalculating from scratch.
Copy Printer Profile takes the alignment one step further. Once all Print Environments share the same Target Density, this tool copies the printer profile and Total Ink Limit from a source Print Environment to all others that use the same density. The result is a group of Print Environments that share both density behavior and color profile — meaning they will produce consistent color output without requiring individual profiling for each device.
Measure Target Density is a specialist tool designed for scenarios where Ergosoft RIP output behavior needs to be aligned with an existing or predefined workflow. This may include workflows from third-party RIP solutions as well as Ergosoft RIP environments where density linearization is unknown, unavailable, or has not been properly established.
Prerequisites: What You Need Before You Start
The Color Equalizer is a powerful tool — but it has specific prerequisites that must be met before any of its functions will deliver reliable results. Skipping these steps is the most common reason the tool does not perform as expected.
The first requirement is that all involved Print Environments must already have valid density linearizations. The Color Equalizer works by comparing and aligning density behavior across environments — and it can only do this if each environment has a linearization that documents how that printer lays down ink on the target media. Print Environments without linearizations will not appear in the tool's selection list.
The second requirement is that all involved printers must use the same ink technology. Pigment inks, dye inks, and other ink types behave fundamentally differently in terms of optical density and color reproduction. Attempting to align Print Environments across different ink technologies will not produce consistent results — the underlying color behavior is too different for a shared profile to compensate.
The third requirement is that all involved printers must use the same or very similar media material. Just as ink technology affects density behavior, media type has a significant influence on how ink is absorbed and how color appears on the final output. Aligning environments that use substantially different substrates will not produce consistent cross-device color — the profile can only compensate for so much.
Finally, it is worth noting that the Color Equalizer always creates copies of the selected Print Environments rather than modifying the originals. The _equalized suffix is applied by default, though a custom suffix can be specified. This means existing setups are never overwritten — operators can compare the equalized and original environments and verify results before committing to the new configuration.
A Practical Workflow: From Multiple Printers to Consistent Output
With the prerequisites in place, the path to consistent multi-device output follows a clear sequence. Understanding this sequence — and why the steps happen in this order — makes the process straightforward rather than intimidating.
The starting point is ensuring that all printers involved in the alignment have been linearized on the same media under the same measurement conditions. This is a critical detail: if linearizations were created at different times, under different environmental conditions, or with different measurement devices, the Calculate Target Density tool may produce a shared density that does not accurately reflect the real behavior of any of the printers.
Once linearizations are confirmed, Calculate Target Density is run across all Print Environments that should share output behavior. The tool selects the master Print Environment — whose dot gain curve will be applied to all others — and calculates the shared Target Density. The resulting _equalized environments are ready for the next step.
With all environments now sharing the same Target Density, a single printer profile is built for the master Print Environment using ColorGPS or another profiling tool. This profile captures the color behavior of the aligned density — and because all environments now share that density, the same profile can be distributed to all of them using Copy Printer Profile.
The outcome is a group of Print Environments that share both density behavior and color profile. From this point, color output across all aligned printers should be consistent — and maintaining that consistency is a matter of re-linearizing and re-equalizing when printer behavior drifts over time, rather than rebuilding profiles individually for each device.
Frequently Asked Questions
What is the Ergosoft Color Equalizer?
It is a suite of four tools within Ergosoft RIP designed to align the print behavior of multiple Print Environments, enabling consistent color output across different printers without building individual profiles for each device. In addition, it allows alignment of multiple Print Environments for the same printer when using different print modes, ensuring consistent results across varying production settings.
Where do I access the Color Equalizer?
It can be opened from the Ergosoft Control Center under Tools, or from JobComposer under Tools > Linearization & Profiling Tools > Color Equalizer. Note that the Measure Target Density function is only available when accessed from JobComposer, as it requires a connected measuring device.
Do all printers need to use the same ink and media?
Not necessarily identical, but they should be comparable. All involved Print Environments should use the same ink technology and belong to the same main media category. The Color Equalizer aligns density behavior, but it cannot fully compensate for fundamental differences in how significantly different ink types or substrate classes reproduce color.
Does the Color Equalizer modify my existing Print Environments?
No. All tools create copies of the selected Print Environments with the _equalized suffix applied. Original environments are always left untouched.
When should I use Measure Target Density versus Calculate Target Density?
Calculate Target Density is the standard tool for aligning multiple Ergosoft Print Environments with each other. It is used when consistent and known linearization conditions exist within Ergosoft workflows.
Measure Target Density, on the other hand, is used when the target behavior needs to be derived from an existing reference output. This can include workflows from third-party RIP solutions as well as Ergosoft RIP environments where density linearization is unknown, unavailable, or not reliably documented. It is particularly useful when migrating from another system, matching previously approved output, or re-establishing consistent density behavior based on measured, real-world results.